Details:
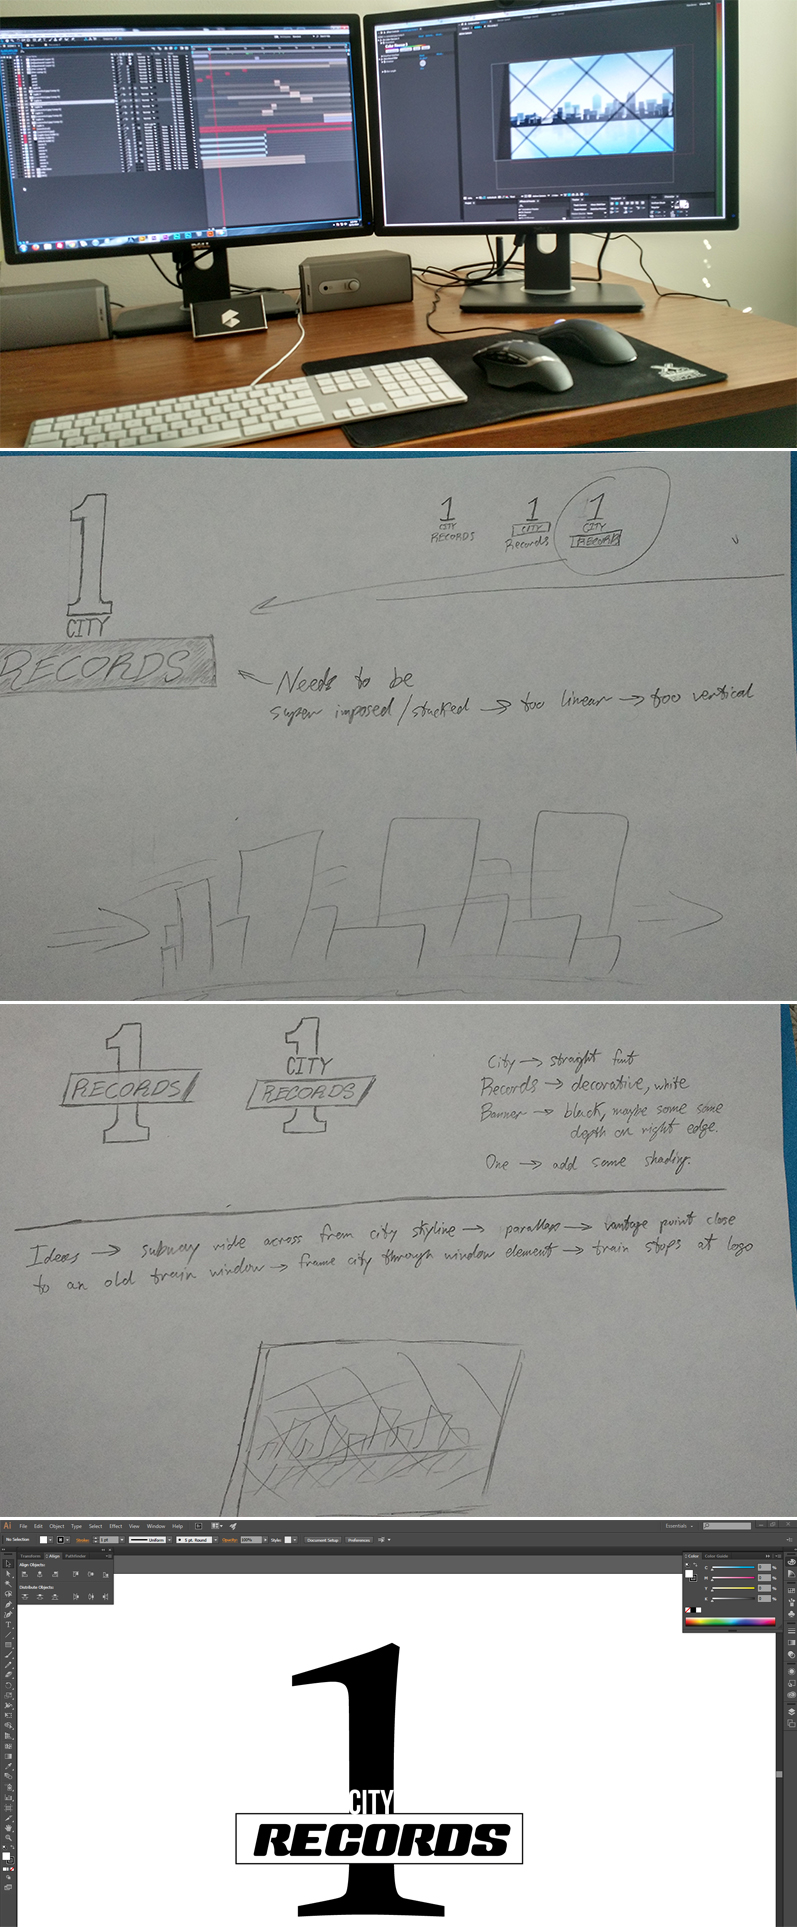
Create a motion graphic splash that can be used as an intro/outro in company media.
Logo should be a part of the animation and also inspire the movement.
Development:
Having grown up in New York City, I got used to some beautiful parallax effects in the real world. From the Manhattan skyline being revealed in grand fashion as I’d be driving on the BQE to wonderful passing tunnel art seen from subway windows; there is a beauty in the world passing by. Seeing as how winter is coming (I’m not a GOT fan at all, but winter is most definitely coming) I started to channel memories of some cold, cold morning commutes. I love the snow and the stillness of winter.
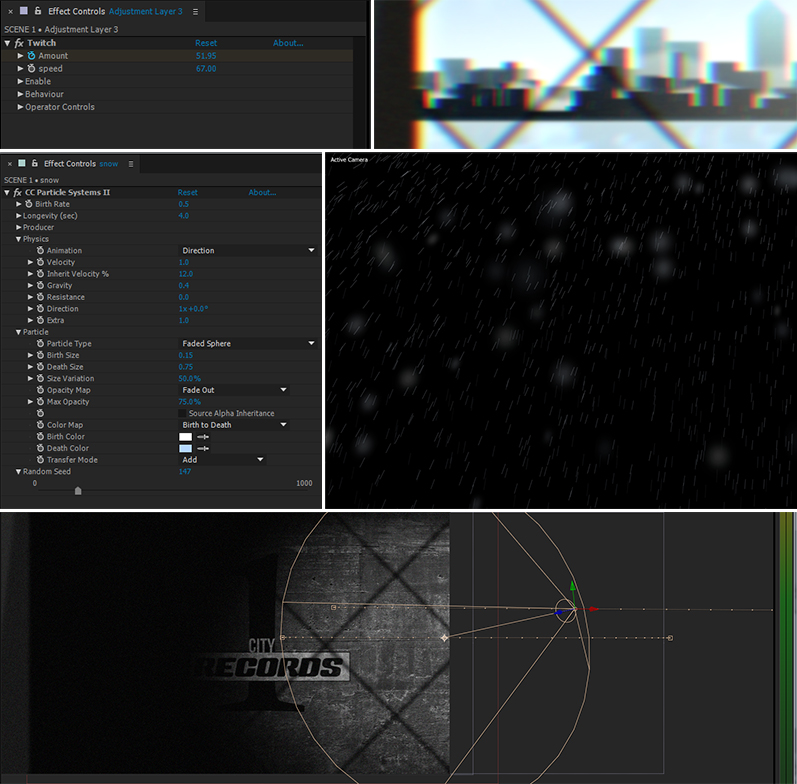
When setting up this animation, I had to keep in mind that adding depth to two dimensional animation requires a conscious effort. The closer layers of the city will be darker while the further buildings will be lighter in color and a bit out of focus. The snow, while flat, is on multiple 3D layers dispersed on the Z-axis. The closer snow is set to spherical and the snow in the distance is set to a line type. There are some very popular particle generators out there, but this was done using Adobe’s native “CC Particle Systems 2”. All of the distortion was developed using Twitch. There are a few good distortion plug-ins for After Effects, but Twitch is my favorite — I’m a big Video Copilot fan. Lastly, there is a light layer used to expose all the tunnel concrete backgrounds as it passes by. Light layers offer so many great strategies for exposing 3D active layers.
Design: